The process is pretty much straight forward with some caveats that I’ll explain below.
First I moved the Data/Migrations and Models folder out of my web app into to my new project (figure 1). I got an unexpected compile error - it was a rather obscure error from the _LoginPartial.cshtml.gs.s file – which is the compiled file. To resolve this I had to update the _LoginPartial.cshtml manually since intellisense was not working in this file (figure 2). Once I did that, and updated namespaces for the existing ApplicationUser references, my web app was compiling and running again.
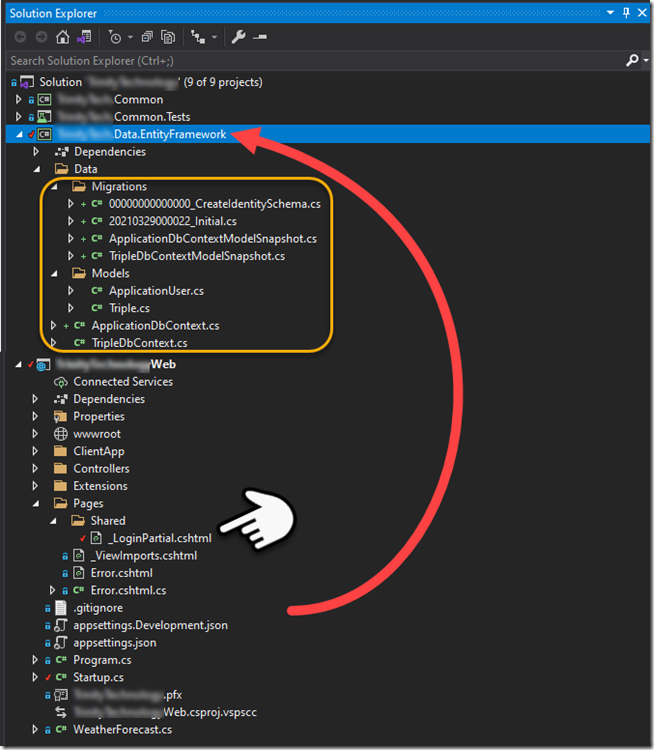
Figure 1
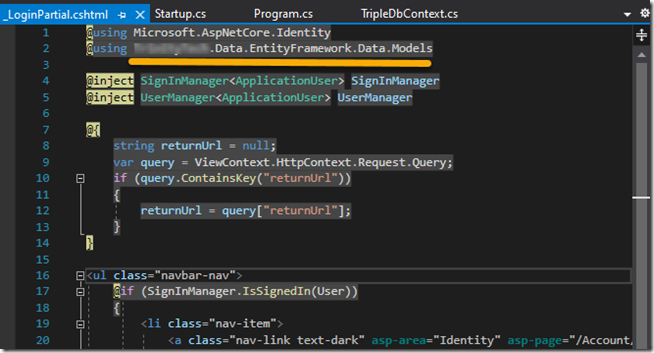
Figure 2
I created my new TripleDbContext as well as the Triple table (see figure 1). I then added the code pointed to below so that my new TripleDbContext will have a connection string when needed.
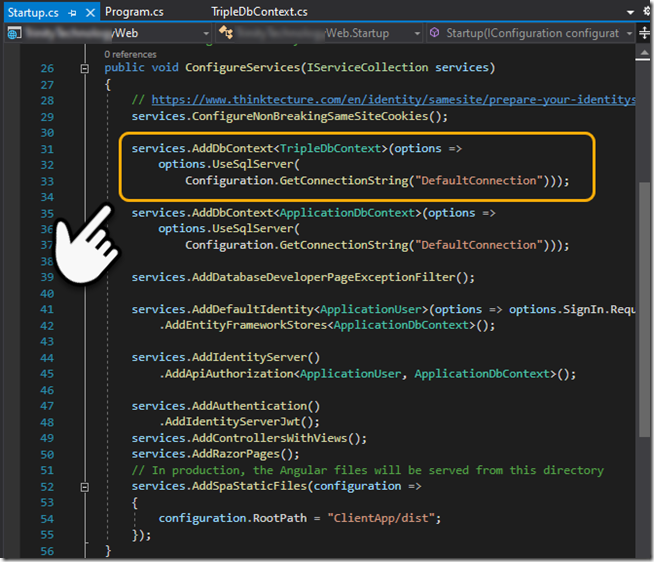
Figure 3
If you don’t have the dotnet –ef tool installed you can go to the root of your web app [command prompt] and type the following:
dotnet tool install --global dotnet-ef
After installed you’ll need need to switch to the “project that contains your xxxDbContext” and use the following command line. Since we have more than one context, e.g., ApplicationDbContext (security) and TripleDbContext (new) we have to provide the –context or it will complain, likewise we have to specify the DbContextOptions<TripleDbContext> in the constructor for options (see figure 4).
dotnet ef migrations add "Initial" -o "Data/Migrations" --context TripleDbContext

dotnet ef database update --context TripleDbContext
Note that I provide the connection string for the OnConfiguring() function from the environment – this will only be needed when configuring the database, e.g., doing the two commands above.
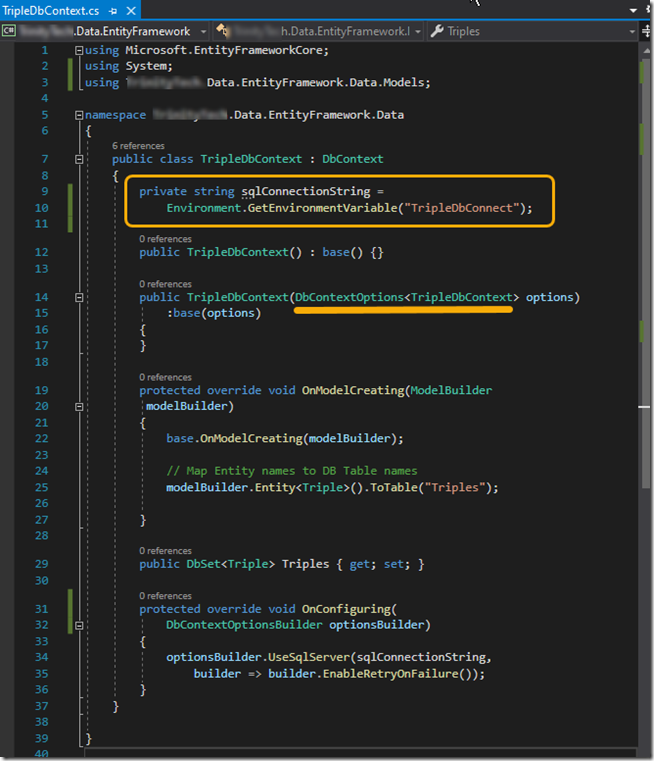
Figure 4
With that you’ll find your database has the new database table.
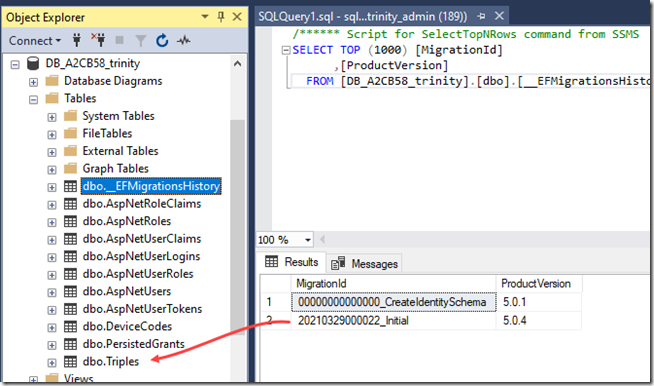
Figure 5